Pages

Showing posts with label spray paint. Show all posts

Monday, April 18, 2011

New Kitchen Stool


GIVE AWAY!!!

It's quite possible,  that I have an addiction to my Kitchen.  I love adding and changing stuff in this room.  I don't even like to cook, I just love my Kitchen. 

I had this ugly black plastic stool in there for ever.  Finally I went to Michael's and bought an unfinished wooden stool and painted it.  Of course I painted it!  lol  I would paint my kids if they let me!

Isn't it cute?  I spray painted it, I really heart spray paint.  I used Colonial Red, favorite red ever!
I did prime the stool gray, and then painted a zillion coats of red.  I didn't protect it with anything, why bother, it's in the kitchen and the kid are gonna be climbing all over it.

I couldn't resist, here's the rest of the kitchen. 

Thanks for stopping by and checking out my new kitchen stool!! xx


Friday, April 8, 2011

ORB to the Rescue!!

GIVE AWAY & ANYTHING GOES PARTY #12

I love ORB, for you new folks that stands for 'Oil Rubbed Bronze'.  It's really one of my favorite spray paints.  I just used in my new lamp.  LOVE the result.

I found the cutest lamp at Hobby Lobby, and they wanted $60, and that was 1/2 OFF!  I didn't buy it of course.  $40 is my lamp limit, and that has to include a shade.  I'm cheap.

Home Goods did not disappoint, but the lamp was the wrong color, but the right price.  I figured I'll  just paint it, I have a zillion cans of left over spray paint.  So that is  exactly what I did.  Now my $40 lamp looks just like the $60 one, and I save $20! 

Here is the lamp right after I bought it.  Not very exciting, the shape is great and so is the shade.  The color is just kinda okay, a little drab.

I used a plastic bag and some painters tape to prepare the lamp for painting.  I didn't do anything else, no sanding, nada.  I did spray it in the garage, with the door open.  It was 70 here today!

Three coats of ORB later, PERFECTION!  It really doesn't even look like the same lamp.

Now back in place, it makes a statement.  No more drab.  The sconce got a candle this weekend too.

Close up of it's glory!

Thanks for stopping by and checking out my lamp! xx


Saturday, January 1, 2011

Craft Hutch

I haven't been in every home in America, but I'm pretty sure my master bedroom is one of the largest, especially when you consider the size of my entire house.  I live in a paired home, fancy term for I'm connected to my neighbors, and it's only 1800 sq. feet.  My bedroom with bathroom is the same size as my living and dining rooms.  Really, not complaining, love the space.  I'm not gonna lie, it would be nice if Connor and Lauren's rooms were bigger.

So what do you do with all this space?  You refinish a ton of furniture and shove it all in!  I did try to 'design' the room, not really sure how successful I was, but I worked really hard and did my very best. 

One of the things I'm not a big fan of in my house, is the amount of storage.  This is were the Craft Hutch comes into play.  I needed something to put my zillions of craft supplies in, no lie zillions.  Ideally my bedroom isn't where I would like to store my crafts, but until the next house with an office/craft room, this is were it'll have to live.  Lucky for me my room is huge.

I know I sound like a broken record, but I don't have any before pictures.  My goal is to be better about this in the future, but in my defense I did this over the summer.  Plus I wasn't even blogging then....any way that's my excuse story, and I'm sticking to it!


Close up of the detail on the top.  Oh so pretty.

Here's a short run down of what I did.  Sanded it down, primed with Rustoleum spray paint and painted it with Rustoleum Heirloom White.  The hardware was spray painted Rustoleum satin black too.  Then I painted the interior of the top section with Valspar satin black.  To finish it all off, I used Ralph Lauren glaze in black and sprayed it with a Rustoleum satin poly.

This is the bottom, before the doors were put back on and the hardware.

Wow, my garage was pretty messy, oh wait...still is...Shh, don't tell Mr. Type A.

I was gonna just leave it on this side of the room, but my gal Angie at All My Treasures, said move it!  (If you stop by and check her out, tell her I sent you, spread the love.)  So I had the hubby move it.  Funny story, he was gonna say I should move it too, but knew I wouldn't listen to him.  He's probably right.

 Ta Da!  In place all finished, and loving it's new home. 

Thanks for stopping by and checking her out.

xx
Tammy :)

Thursday, December 9, 2010

Frames Made Easy...Really Easy...

I was searching blog after blog the other day looking for an easy, adorable, affordable Christmas present.   I usually only give gifts to my children, but this year since I've become a do it yourself-er, I decided I would like to make a few gifts.  That's when I cam across Shanty2Chic's blog, and found these picture frames, and I knew even I could make these.  Thanks for the great idea Whitney and Ashley!


I bought the clips at Walmart, just like the Sisters.  The base which is an oval piece of wood and a wooden candle stick, I bought at Hobby Lobby, again I pretty sure I bought all of my supplies at the same stores as Whitney and Ashley.  I did not use 2x8 cut 10 inches long, I opted for 2x6 cut 8 inches long.  I wanted something a little smaller, but I think next time I will go bigger.


Here is a picture of the top section, with the clip and applique glued in place. 

This is the oval piece and candle stick glued together to make the base.

 Here they are attached to each other.  I also made them vertical and horizontal. 


 This the glue I used, and I don't think I will use it next time.  I know the Girls used it, but it takes a while to set up and smells awful.  I might use something of the Gorilla variety next time.


 I bought quite a few different colors of spray paint, I HEART spray paint.  Especially Rustoleum, don't get me wrong I like Krylon too, but it really doesn't cover as well.  I found with this project I will have to prime the frames that I want to paint ivory.  I didn't prime the walnut or red ones, and it only took two good coats to cover.

Love the walnut brown ones, these are all MINE!  (okay so they aren't all gifts!  I had to keep a couple for me?)

These colonial red ones are for the best Mom in the World!  Yep, mine! 

I didn't distress mine, but you can if you want.  I just love how the Santa picture looks in this frame. 
I have two more in the garage primed and ready for paint, yep Krylon Ivory!
If you guys make some send me a picture please, I would love to see what size/colors you choose.
Happy Crafting!

I'll be linking up with the following:

Sunday, December 5, 2010

Tin Door Done!

 Okay, so I have to share my new tin door, really...I HAVE too!  I should start out with I designed and painted it only, my local neighborhood handyman assembled it.  I don't really own the power tools to do it myself, that is right now...the hubby has given permission to start shopping craigslist after the holidays. 


 Here is before picture, I know I should have actually taken pics of the different steps involved in making the door, but I didn't.  Let's face it, none of you are surprised...lol
                                     

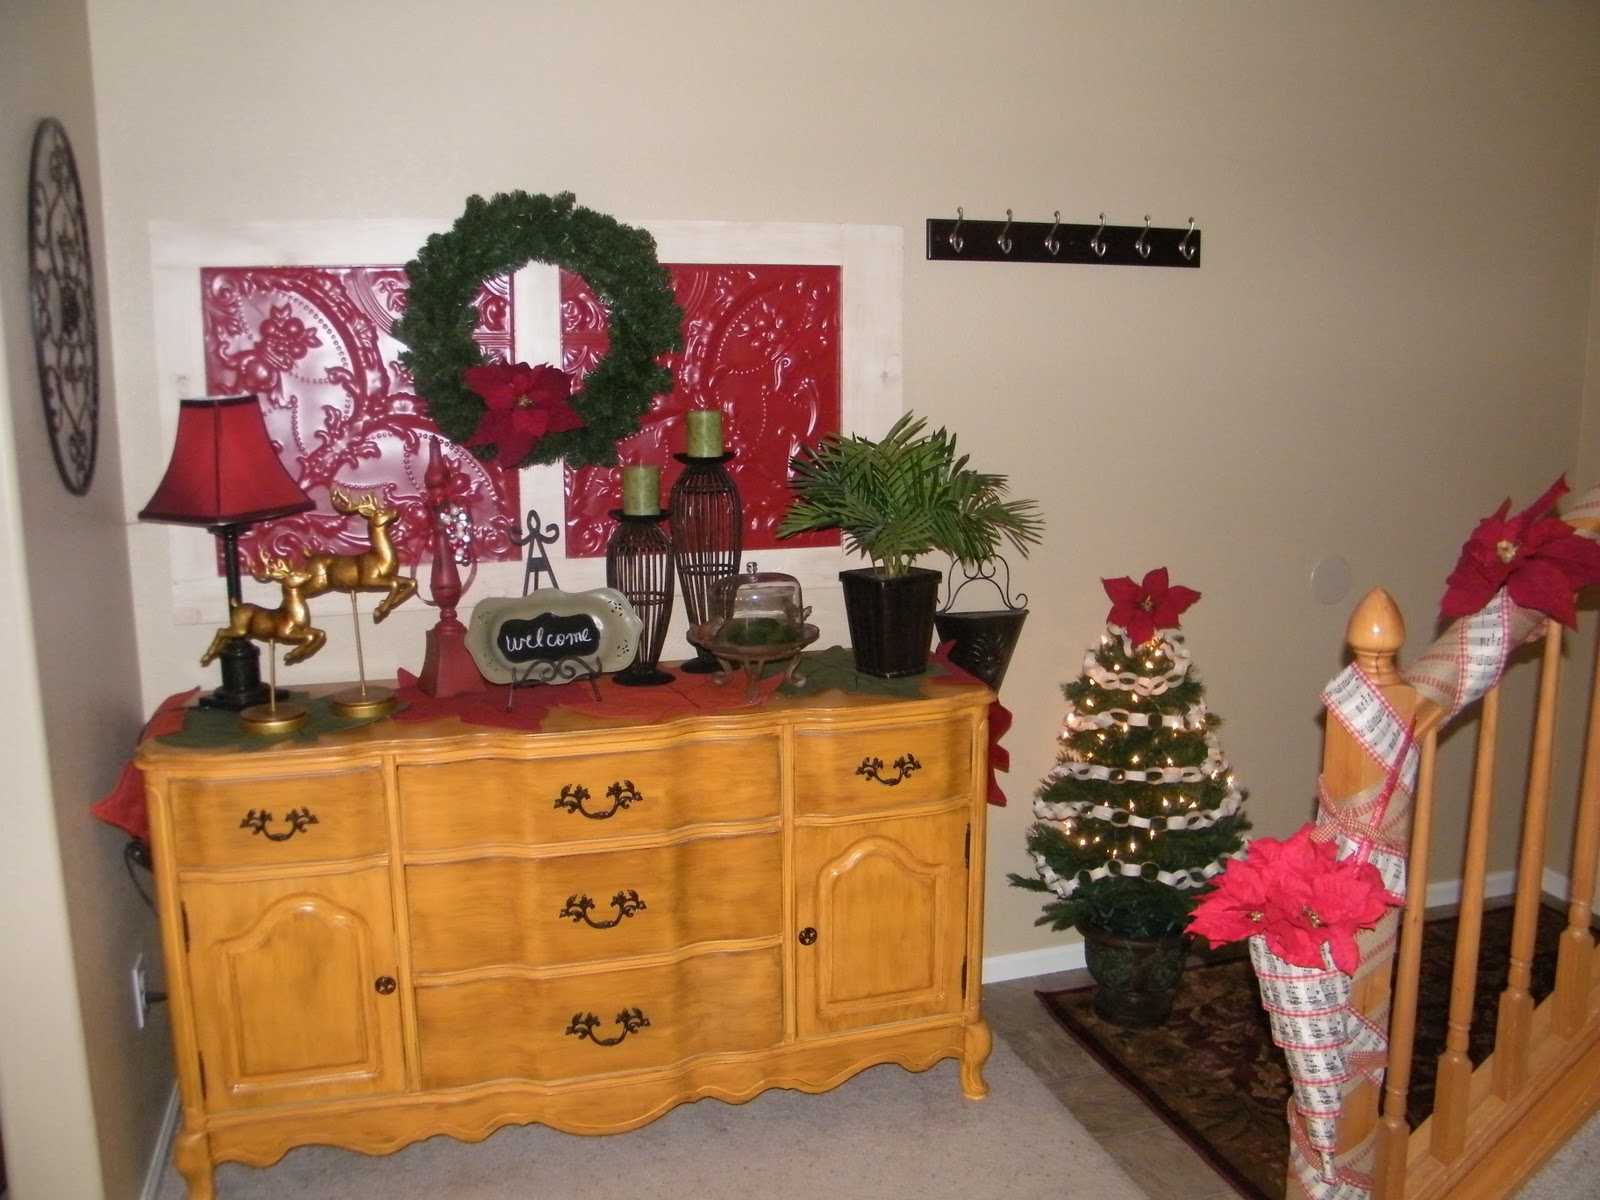
Ta Da, the after!  Doesn't it look great?  Thanks.  I got a great deal on the ceiling tin too, and I painted in my new favorite Rustoleum color, Colonial Red.  It's the perfect shade of red.


Okay, so my photography skills are lacking, but here's another angle.  You can't tell from the photos, but I painted the frame Rustoleum Heirloom White and glazed it with Ralph Lauren Tobacco.  I'm crazy about spray paint. 

This door isn't just for Christmas either, this is it's new home, and won't be moving anytime soon.  Not to say it will never move, cause let's face it, I like to change things up.  A LOT!

I had to throw in for fun the new wrapping paper I bought this year.  LOVE it!  Damask, who would have though?  You can get it at....wait for it....HOBBY LOBBY!  Doh, like my fave store!

Close up.  Please excuse the table top in the background.  I'm getting ready to stain it, it's currently living in my kitchen.  I will blog all about it when it's done, so I'm off to stain!

Thanks for checking in with me today!  Happy Holidays.


Tammy  ;)


LinkWithin

Related Posts with Thumbnails