


Hi there! My name is Jenny and I am so excited to be guest posting today here on Type A Decorating, a blog I adore. I'm visiting from Simcoe Street, my blog about designing, decorating and other things I love. I am from Toronto, Canada, where I live in the heart of the city in a tiny condo that we are having fun making our own.

Today, I thought I'd share a little project that I recently completed in our kitchen.
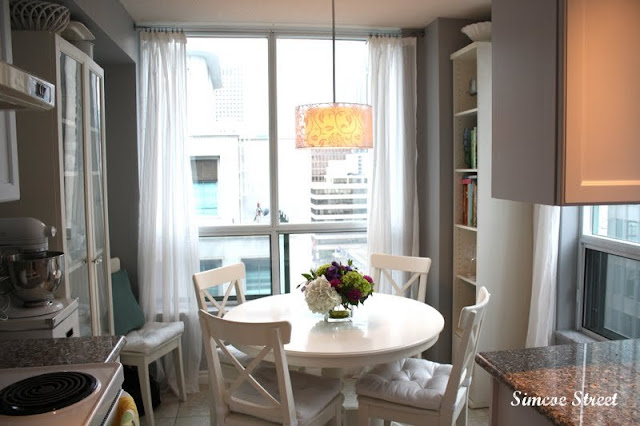
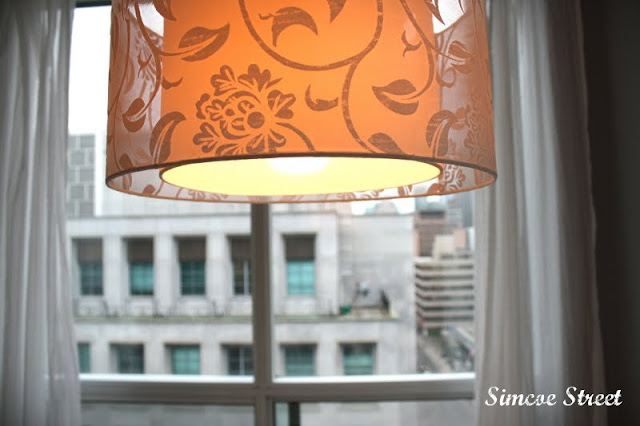
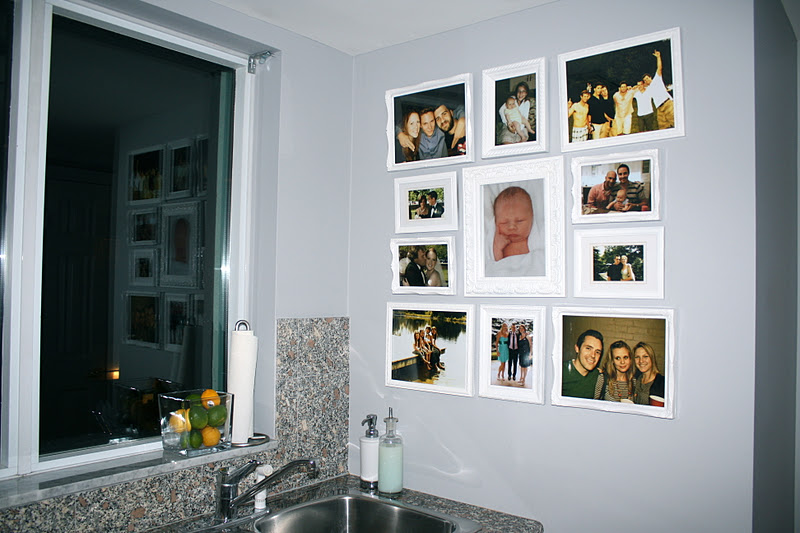
First, let me give you a glimpse of the space overall. Our kitchen recently underwent a major paint job - the cabinets got a few coats of whitish-grey (Atmosphere by Glidden) and the walls got a darker grey colour (Veil by Glidden). With simple Ikea curtains, (only $9.50 for a 98" panel) and a $30 Home Depot light fixture, the space now feels much fresher.
To go with these changes, we needed some sort of art for the blank wall by the sink. We decided that, for the time being, we'd hang funny family photos there in a simple gallery wall fashion. I'll break it down for you, but here's how it looks all finished:

The centre photo makes us laugh. Here's a better look -- it is my son Benjamin at only 12 hours old.

Anyway, we had lots of cheapie frames on hand and were thus able to do this project for no more than the cost of a can of spray paint (we used Rustoleum's gloss white). To recreate this, you'd need to spend a whopping $11 on the frames, & paint if you were painting them.


The frames were originally purchased at The Dollarama and were used on our wedding guest book table. They were painted gold and displayed many of our guests' own wedding portraits, which was a fun surprise for them. It looked like this:

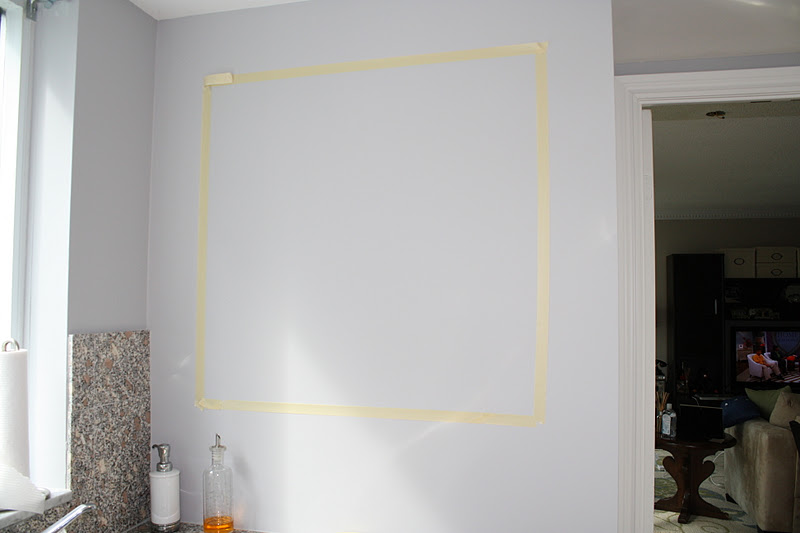
Anyway, to reuse them for our kitchen wall, we started by measuring out a space for an arrangement of frames.
Next, we used a newspaper template to lay out the frames and choose which ones we wanted to use and how we wanted them layed out. If you do something like this, be sure to photograph the arrangement so you don't forget what you decided on.

Of course, the frames were looking super ugly after being sprayed gold and then sitting in my parents' garage for 3+ years... Definitely not our style, but totally salvageable nonetheless. Here's the before:


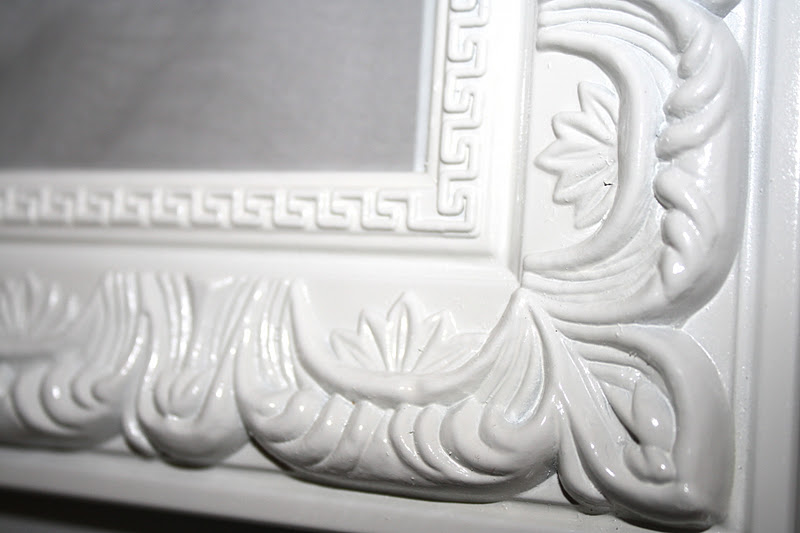
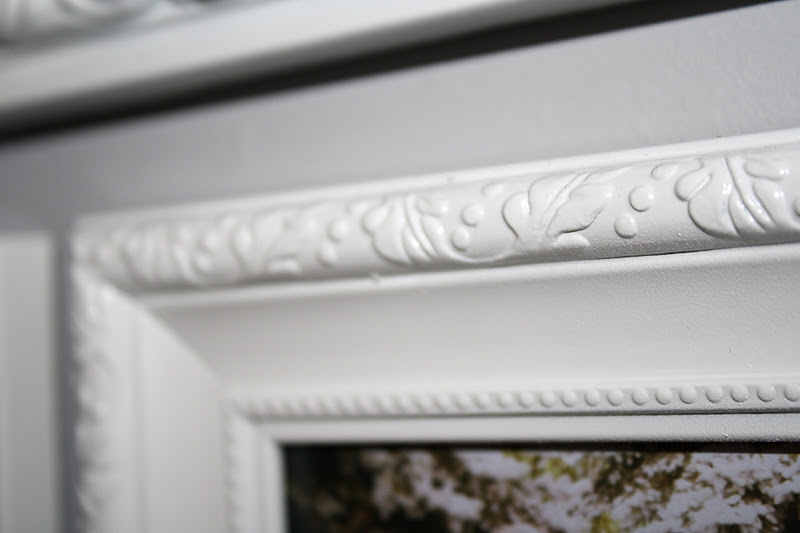
And a few coats of spray paint later, they looked completely different. The white made all the weird details of the mismatched frames look fresh and coordinated.

We still need to hang curtains here, but this very inexpensive project has helped personalize and brighten up the space. We are one step closer to finishing off this space!
To see more of our kitchen, the rest of our home, design ideas, craft projects & more, please come by for a visit at http://www.simcoestreet.blogspot.com/! There is also a great giveaway happening right now that I hope you'll come enter :)
Thanks so much Tammy for having me as a guest poster!
Jenny xo
Jenny, thanks so much for being a guest! What beautiful kitchen, and I love the wall of frames. P.S. How cute are you! xx


3 comments:
I've enjoyed reading this post, and love the way the gallery wall turned out! I'm thinking I'll visit my local dollar store to see what I can find in the way of frames. Loved the picture of Benjamin at 12 hours old...what a sweet little guy! Thank you for sharing!
This looks so great! I love that you painted all of the frames white; very chic :-)
Hi lovely lady.
Your photos are Beautiful you did a great job putting them all together on you wall. I just post my Halloween tablescape on . may be you can take a look.
I hope you have a great week.
XXOO Diane
Post a Comment