


Hey there, Vamps & Type A'ers!
Meg, here, @ Revamp Homegoods. I'm a budget-minded crafter, cook and DIY-er. I love transforming a piece from trash to treasure or creating a copycat version of a trendy decor piece for a lot less money. I hope you can stop by for a visit and see what I'm up to.

I am so excited to be taking part in Type A Decorating's Holiday Series (thanks Tammy!) and you know what? This is my very first guest post! I'm super excited! (Perhaps I should reign it in just a smidge?)
Speaking of excitement? Have you seen these West Elm Scalloped Trees? Pretty awesome, if you ask me. They're constructed out of seagrass and styrofoam. So, I thought popsicle sticks would be a great substitute and I picked up a couple styrofoam cones @ Joann Fabrics, which were surprisingly expensive for what they are. And by expensive I mean $6 for the 15" cone. Still less expensive than the West Elm version, but c'mon $6?
 |
| West Elm Scalloped Trees - $39-$79 |
Supplies:
- styrofoam cones (15" and 12")
- popsicle sticks
- hot glue gun

Total project cost for two cones: $12
When I first started on this project I was like, Oh hells yeah! This is easy as pie. Well, my pie turned into a soufflé or whatever that crazy beef thing that Julia Childs made. Point is, well, actually that was the whole issue. My tree just wouldn't come to a point. The thickness of the popsicle sticks was hindering all of my attempts to make it more pointy & tree-like. My mistake? I started at the bottom and worked my way up to the top. I pried off the layer at the top and tried again, only to end up with another blunt top and a lumpy looking tree.
Step 1: Heat up your glue gun. Bring the sticks to a point about an inch above the styrofoam and then work your way down with the first layer, gluing one by one.


Step 2: With the first layer in place, start back at the top and adhere the second layer, making
sure to overlap and cover up any spots where you can see the styrofoam
underneath. (Don't worry about covering up all the spots. The third layer will take care of any open spaces left over.)
sure to overlap and cover up any spots where you can see the styrofoam
underneath. (Don't worry about covering up all the spots. The third layer will take care of any open spaces left over.)

Step 3: After the second layer is in place, start breaking the sticks in half and cut the broken edge so that it is straight. (Or you could purchase shorter sized sticks that have rounded edges on both sides.)


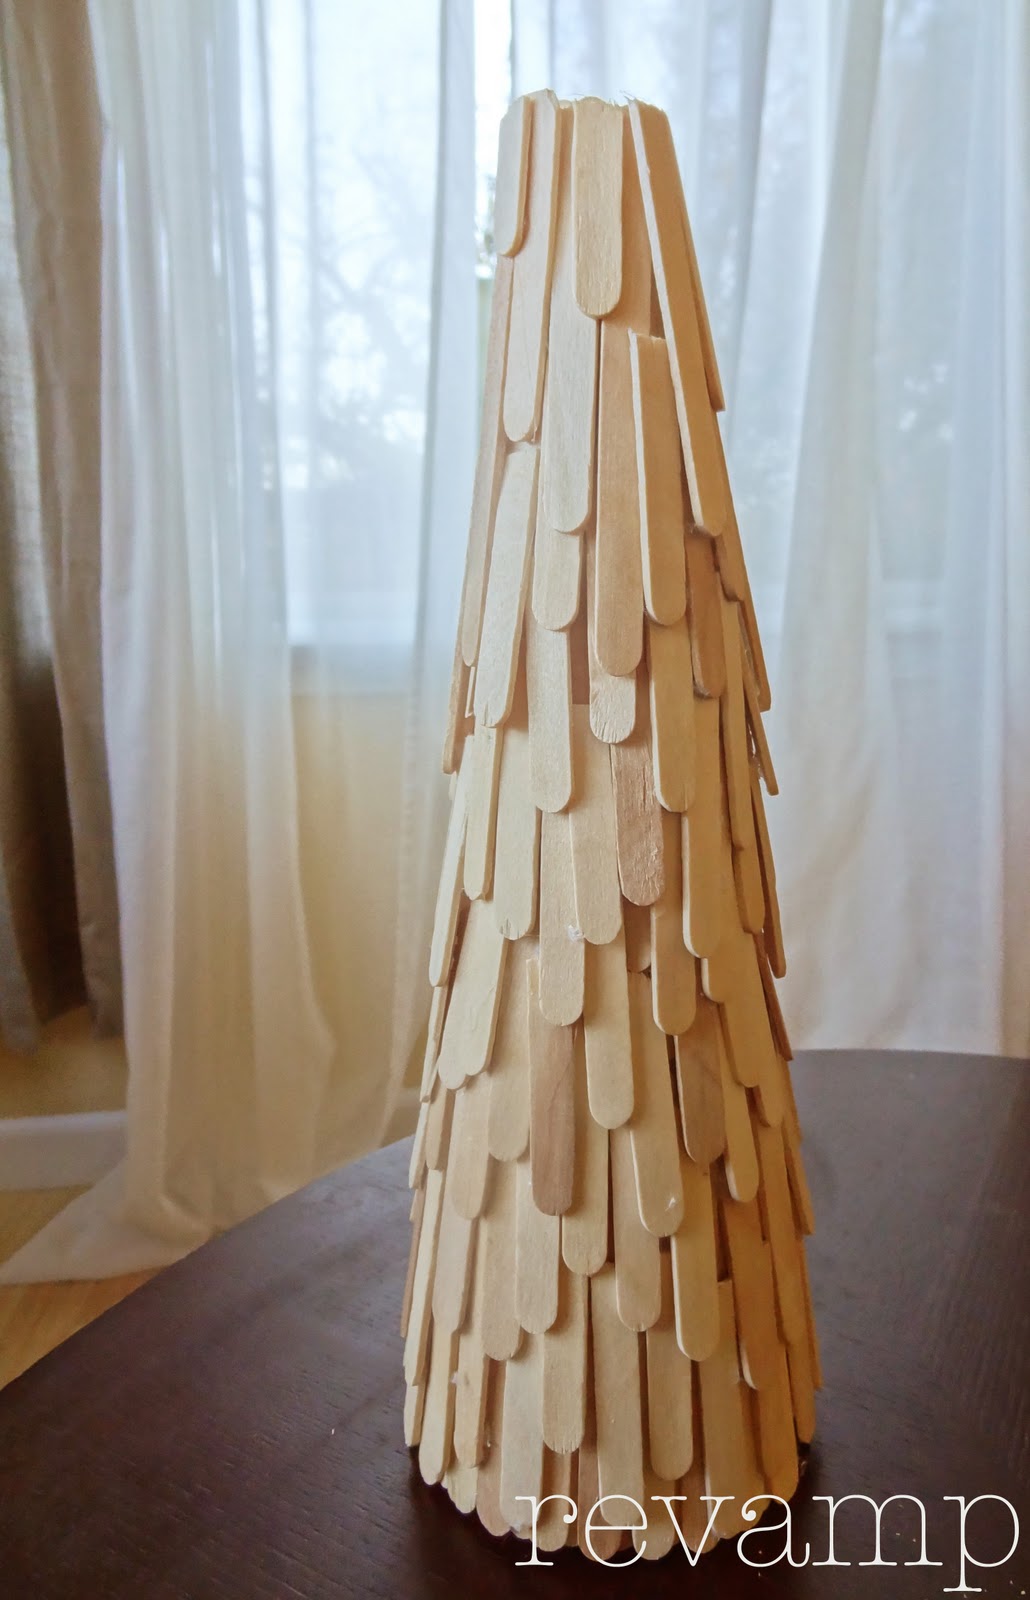
Step 4: Start gluing the shorter sticks, overlapping as you go. This process is a little more time consuming, but pretty soon...you're all done. And you have a beautiful scalloped tree with a semi-pointy top!

I'm definitely more fond of the scalloped look of the blunt tree with the ends tucked underneath the next layer and of course the point of the taller tree, so I'm just going to have to buy a third cone (perhaps a bit shorter) and make a perfect little combination of the two.
So, there you have it. Two scalloped trees, similar to West Elm's version, but at a fraction of the cost. Now that's my kind of decoration.
Until next time,


4 comments:
Loved being a part of this. Thanks so much for hosting Tammy! Happy holidays!
I really love these trees. :)
The trees look great! Creating involves process and your process led to success. Good job!
I like your trees! I think if you add one more row to the not-so-pointy one, you can make the sticks come to a point. ~Marge
Post a Comment